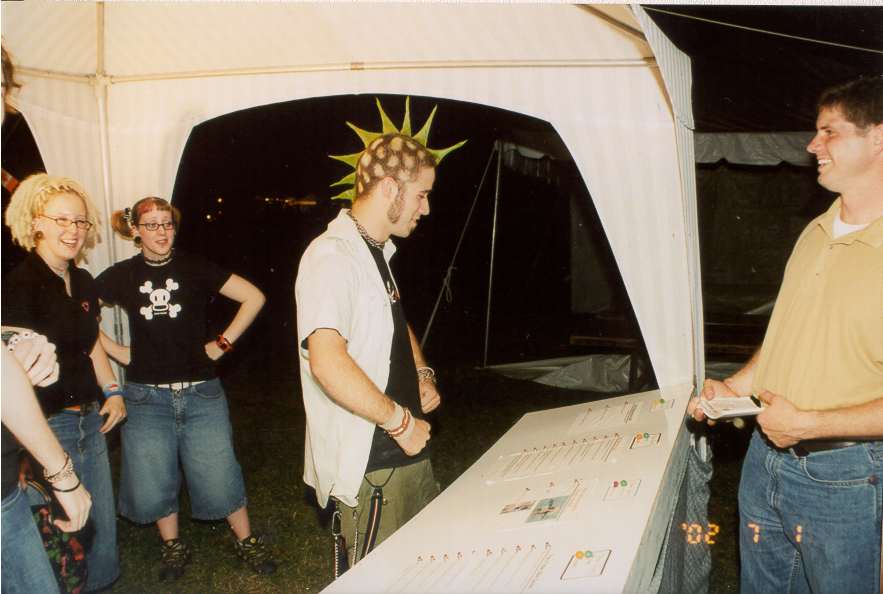
How To Build an Evangelistic Bible Quiz Booth

You need 6 basic things:
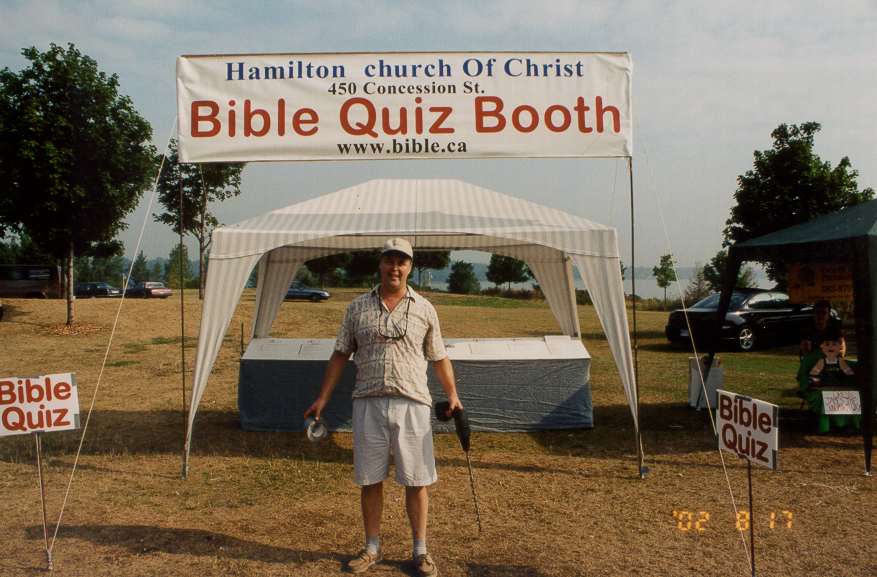
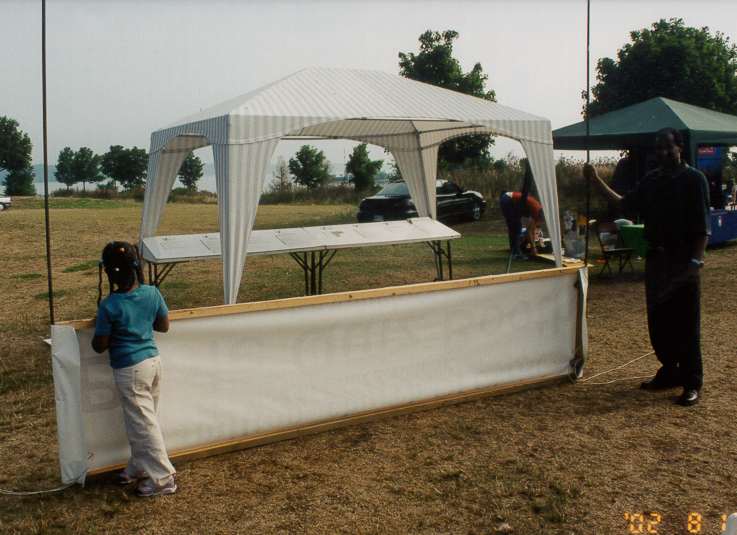
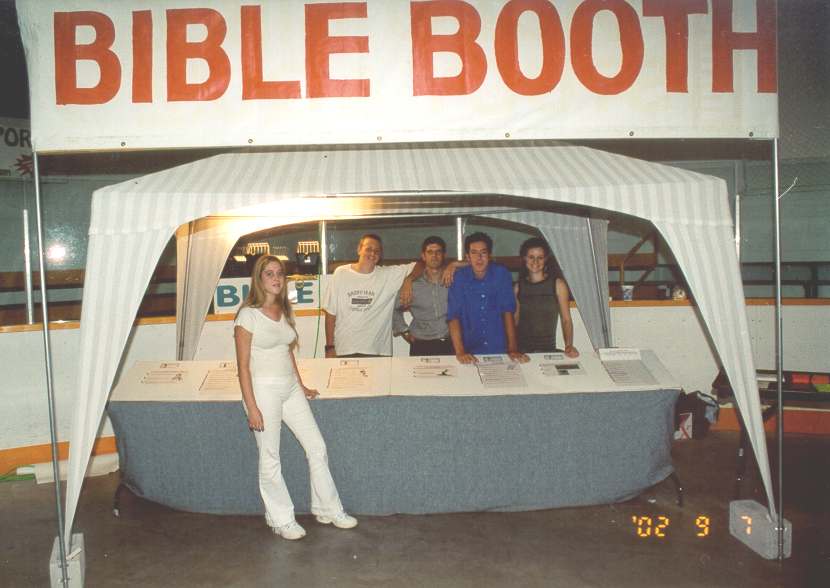
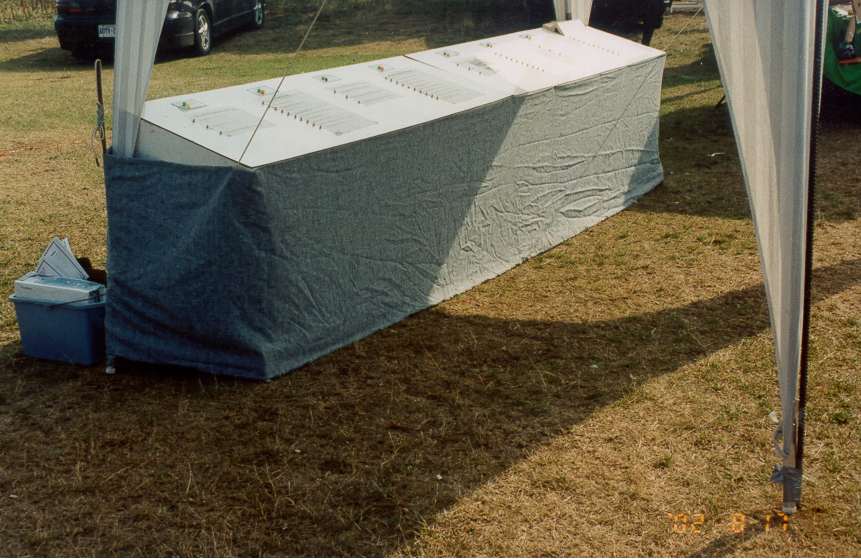
Here is the finished booth!
The Tent:
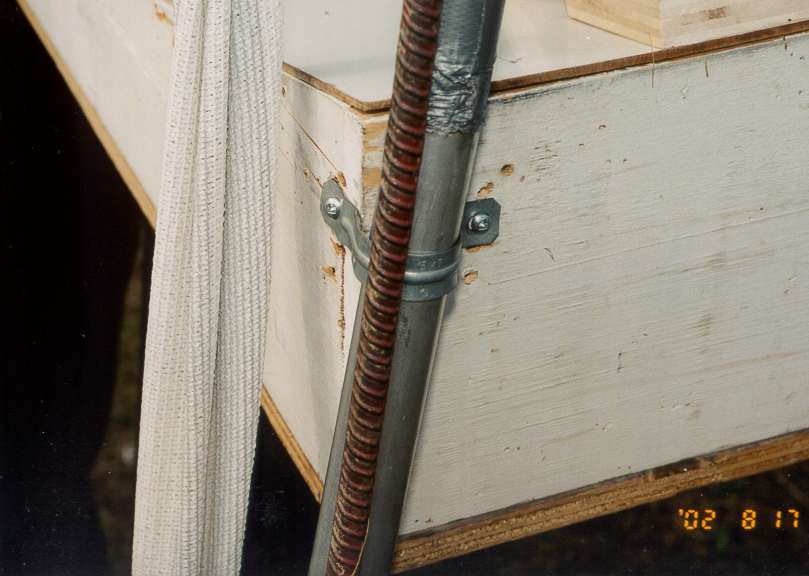
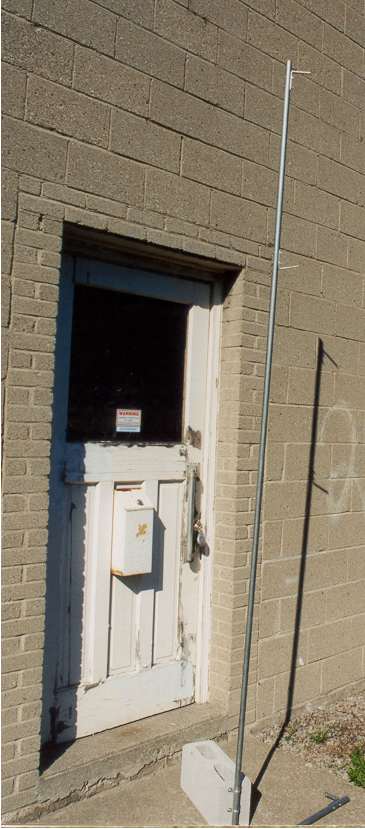
I use a 10 x 12 foot tent that is open air concept. Go to a specialty tent store and buy one that is high so that you can walk right under each corner without ducking. You do not need a tent with any sides. Notice I position the button board at the just inside the very back (behind) of the tent. I stand outside the tent facing those taking the quiz. Pictured below is a 3/4 inch x 12 foot rebar that supports the sign. We drill a 7/8 inch X 18 inch hole in the ground with a drill.(see below) Then we duct tape the tent leg to the rebar.
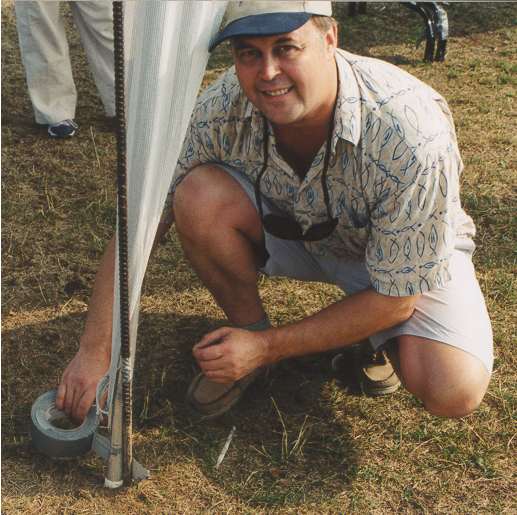
We get a specific rider from our insurance company for a blanket $2 million liability endorsement for each fair. Think safety! The duct tape secures the aluminum tent leg to the rebar so that it will not fly away in high winds. Tents are like parachutes and very dangerous when they fly through the air! Use lots of duct tape (10 wraps) to tape the tent leg to the rebar. Below is the leg at the rear of the button board. Notice that we can tie the sign rope to the bottom of the tent leg for stability in winds. So the rebar holds the whole thing together. The Duct tape holds the tent to the rebar and the rope holds the sign to the rebar. The rebar is doing all the holding work! Pictured below is a 1/2 inch x 2 foot rebar. We hammered into the gound.
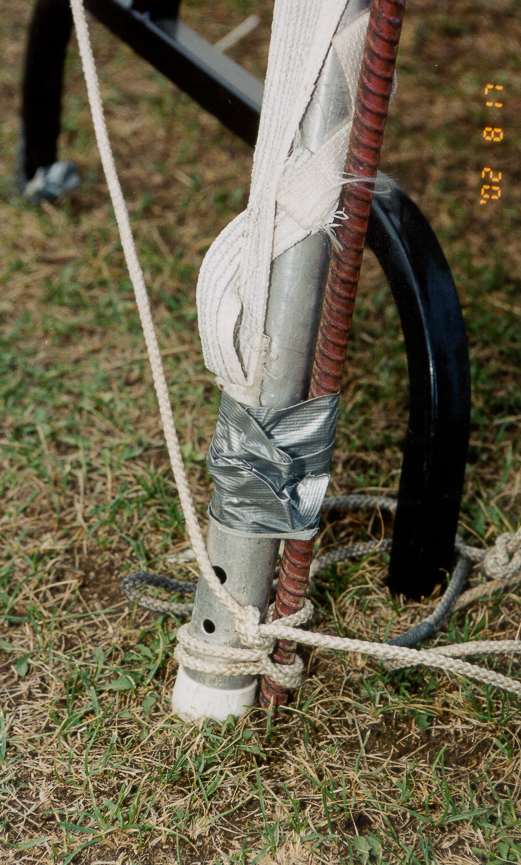
Then you can buy a steel "u-clamp" and bend it to fasten the tent leg to the button board.
Signs:
We use two kinds of signs. Four 1 x 2 foot double sided "Bible quiz" signs. A banner sign that is 2 x 12 feet made from which plastic vinyl with vinyl letters. This is the main sign that is over the booth.
Signs: If the booth is on earth:
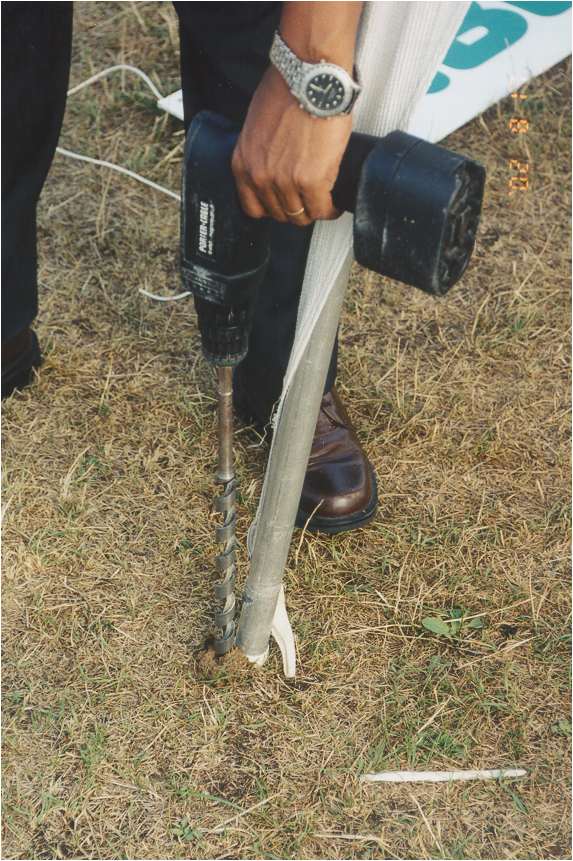
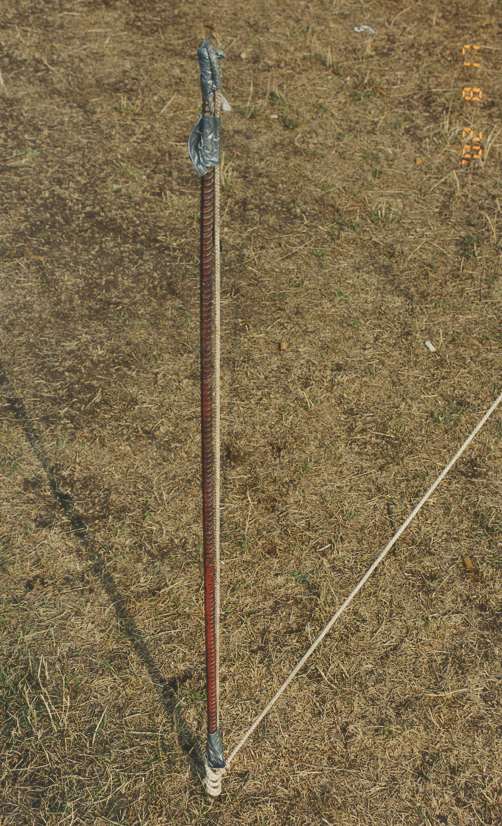
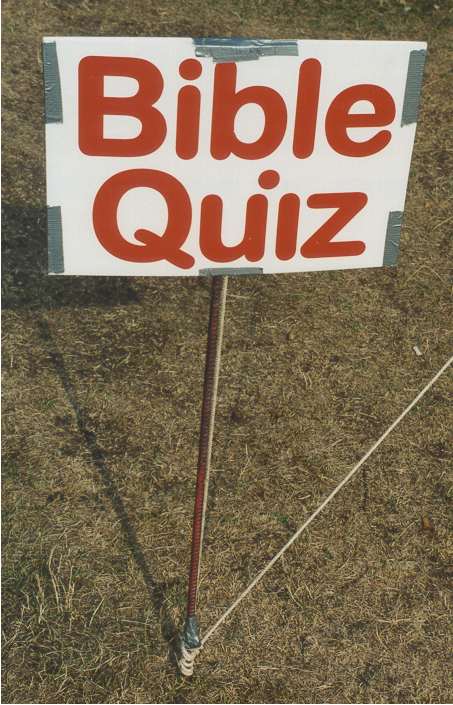
After duck taping the top of the rebar like a hockey stick but end so no one can impale themselves by falling on it, put a "bible quiz" sign on the rebar. This sign is two pieces of "plastic corrugated cardboard". Tape the sides together and put the rebar inside or between the two signs. More tape on the top holds the sign on the rebar. Then you can tie the sign rope to the bottom for wind support.
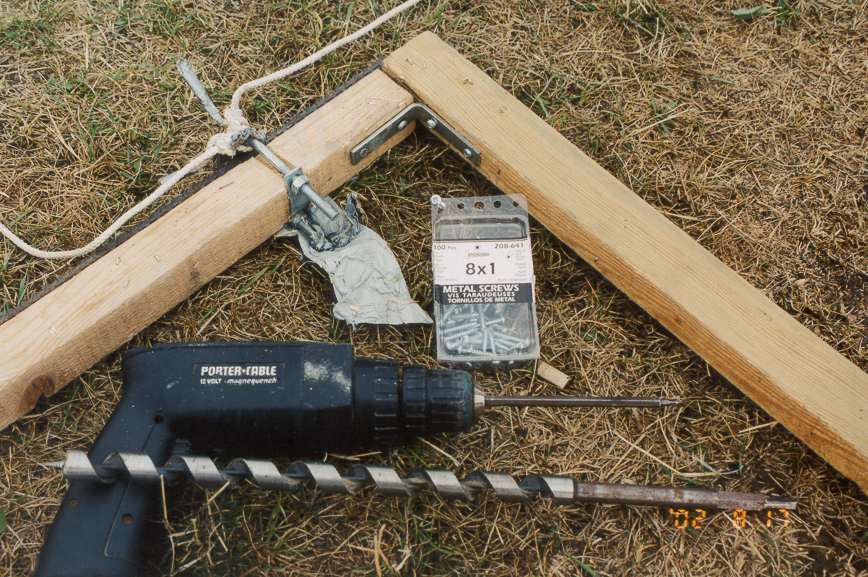
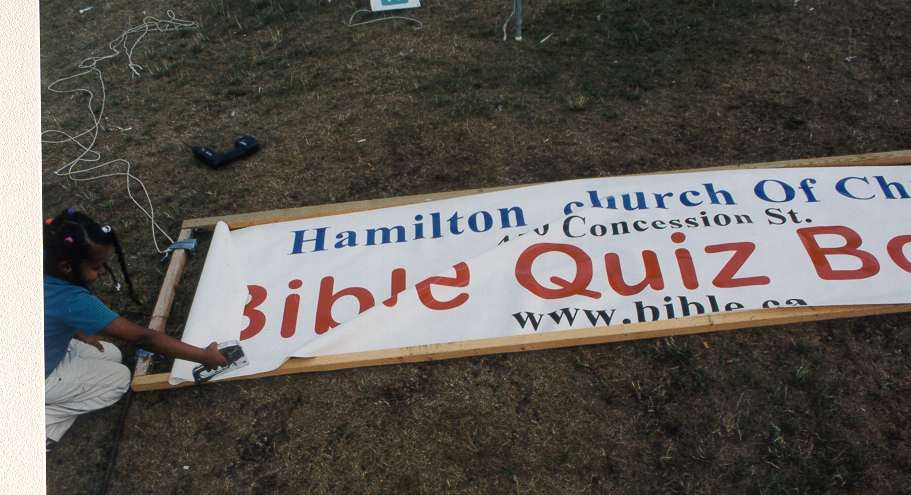
This makes the wooden frame that you fasten the vinyl sign to with a T-50 or T-18 staple gun as this child below is doing.
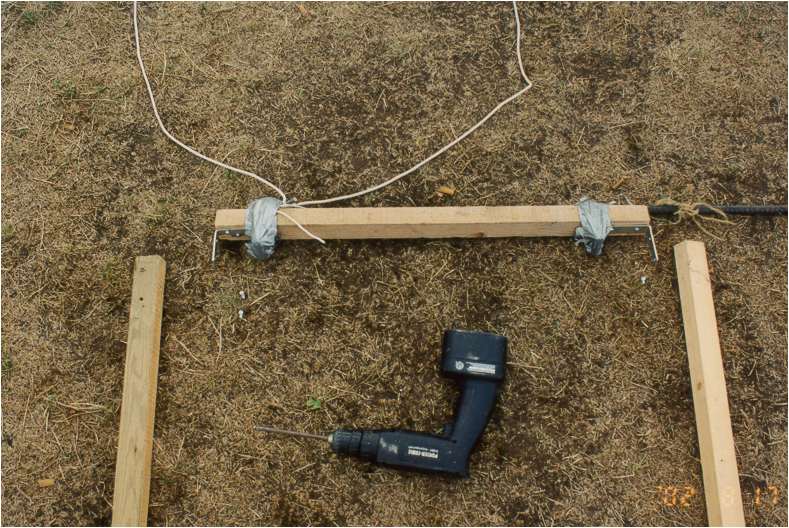
Staple the banner around the back of the wooden frame and drop into place! (Remember the two holes you drilled with th 7/8 inch x 18 inches auger into the ground?
Signs: If the booth is on concrete:
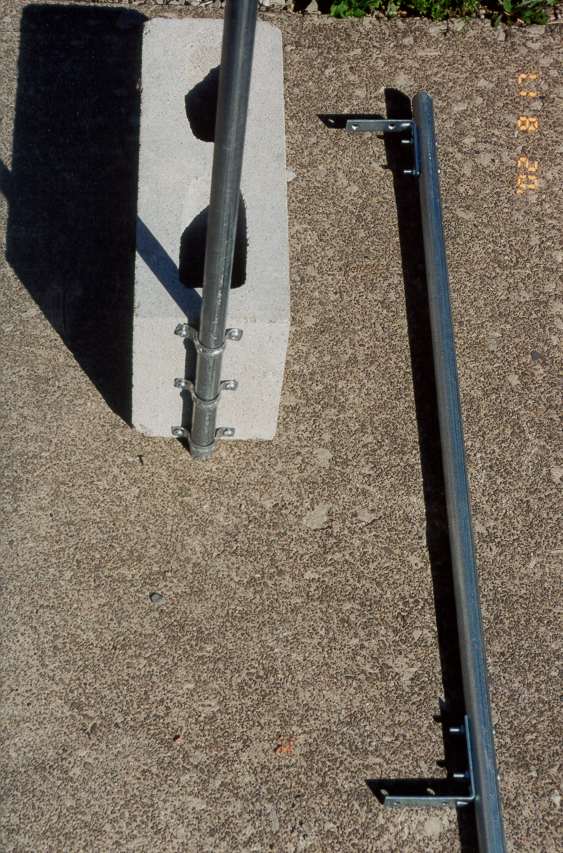
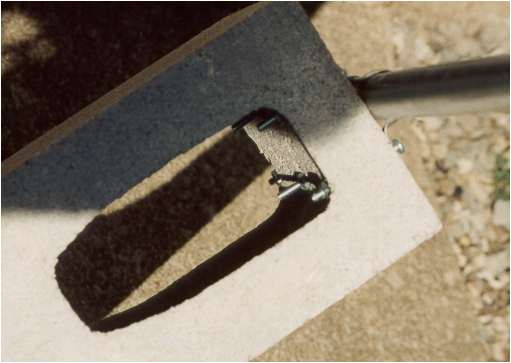
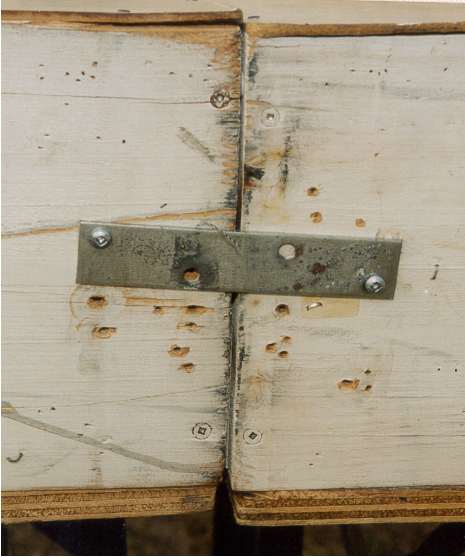
Here is a close up of one pole attached to the block and the other laying beside it. The two twelve foot by 2x2 spruce horizontal supports attach to the steel supports exactly the same way as pictured above when the sign it on ground, not concrete. The finished pole at the right bottom, laying on the ground is a complete unit that never needs to be taken apart! All you need is 2 screws per corner to attach the 2x2x12 to the L-clamp.
Wiring the Quiz board
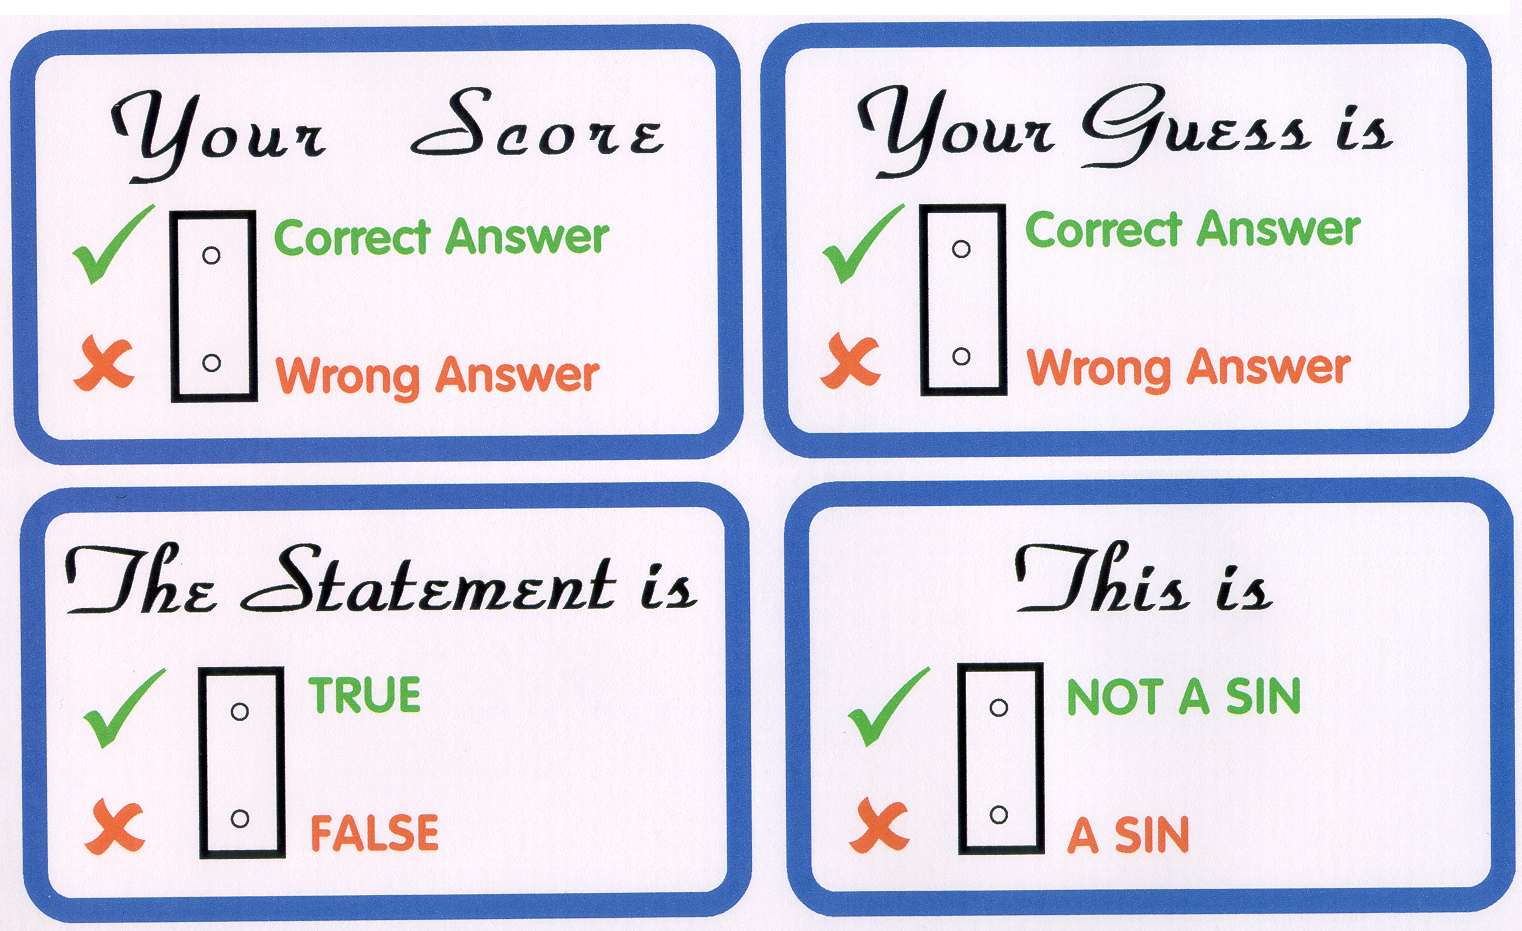
Various types of questions:
![]()
For multiple choice questions
you have a question with three answers. Only one is correct, two are wrong. Wire up the two wrong buttons so that whey they are pressed, the red "wrong" light turns on. Wire up the one right answer to light up the green correct light turns on.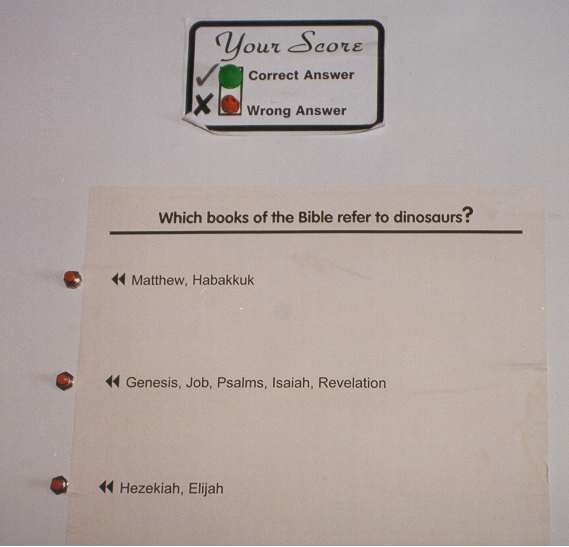
This gospel preacher doesn't realize that the two quiz boards are screwed together (see above) and he does not need to hold the two boards together with his arms.
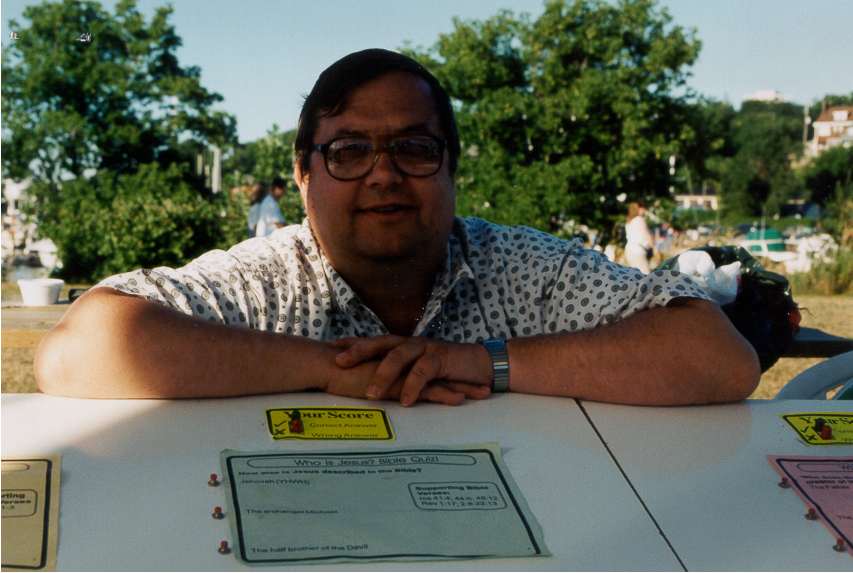
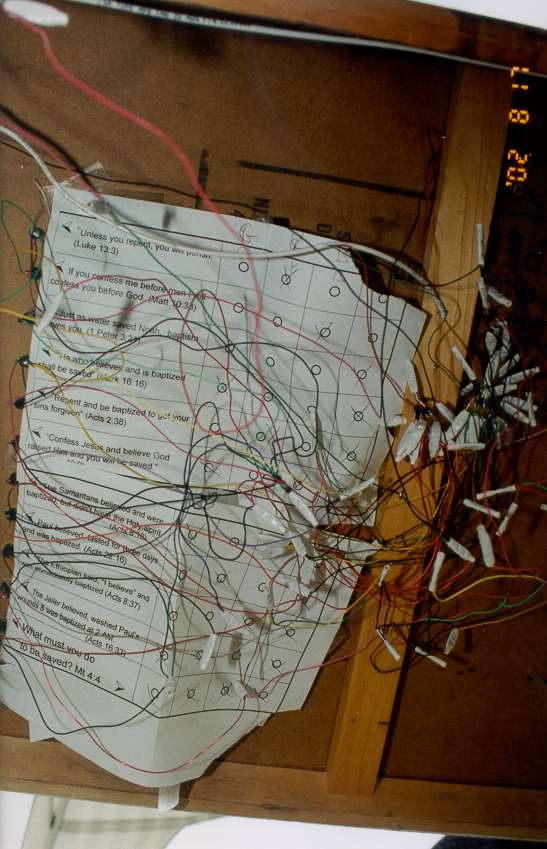
Above is a multiple choice question. Below left is what the same 3 button multiple choice question looks like from underneath. Below right is a 10 button true or false question. The wiring is simple series circuits.
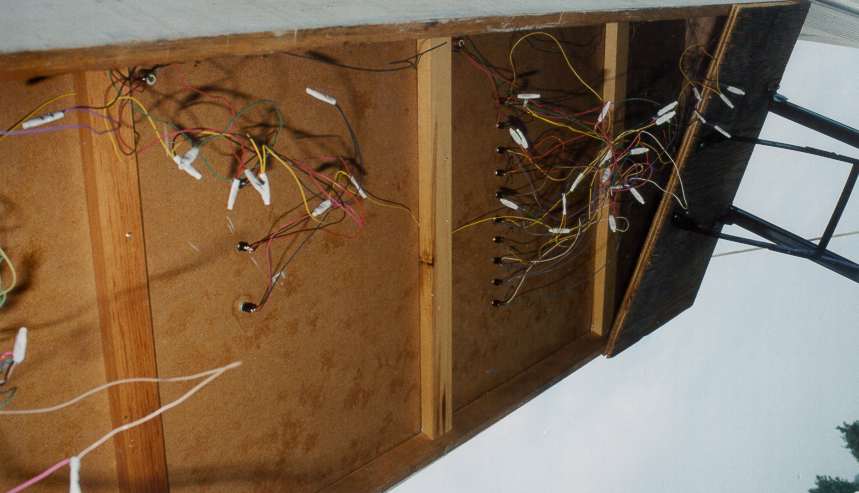
For true or false questions
: you have a single theme like: True for false: Is it sin? Then you have 10 buttons. Each question is either true for false. If true, the green light turns on. If false, the red light turns on. Below is the "identify the sin" question that was very powerful.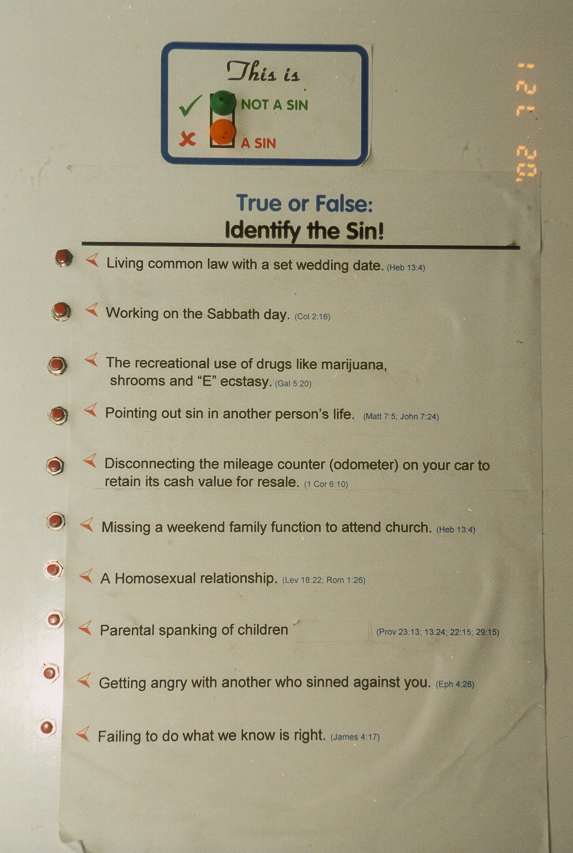
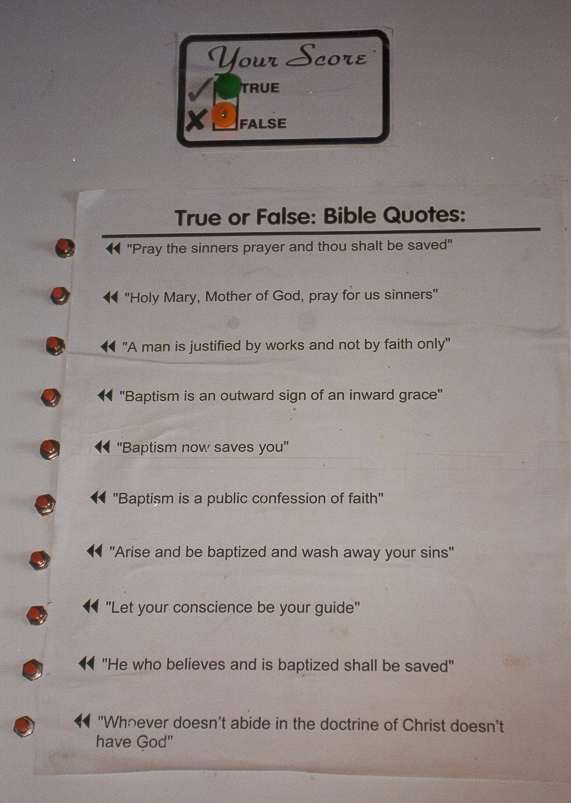
Below is the fabulous "Is it a Bible quote" question. This question sends the "Billy Graham crowd" spinning away in confusion because they get almost every one wrong based upon the false doctrine of salvation by faith alone via the sinners prayer.
Time line questions
: The time line uses smaller lights and I start by printing the time line and taping it to a piece of plywood and drilling the holes right through the paper. Then each button lights up a single light on the time line. This question has 10 buttons. When each button is pushed, it lights up a different light drilled into the time line. You can see the "first pope" button is pushed and 606 AD lights up on the time line. I use a smaller 12 volt light that comes with two 6 inch leads. The glass in the bulb is less than 1/4 inch in diameter. Chose a drill size that allows the bulb to slide into place then silicone them into place. Make sure the bulb is flush to the 1/2 inch plywood because people will push the bulbs and break them.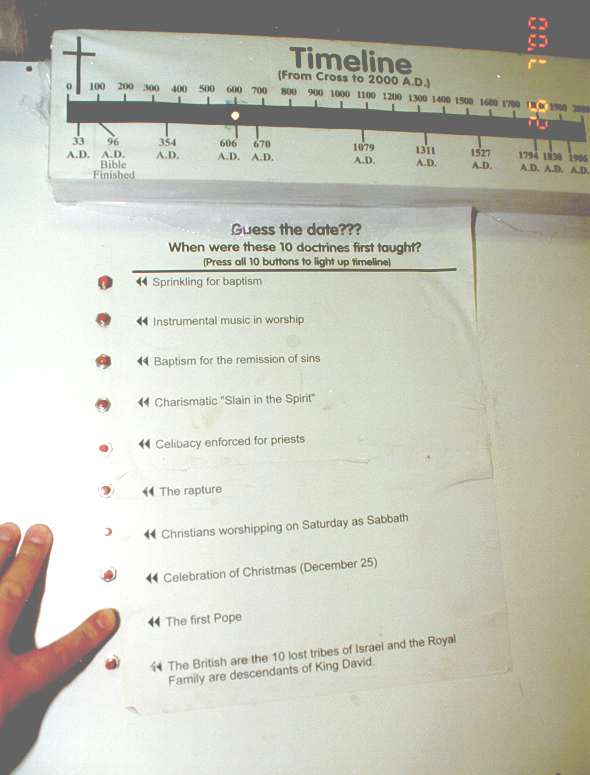
How to be saved conversion examples questions
: This is a little more complex to build, because one button may turn on "believe or repentance or confession or baptism" or one button may turn on "believe AND baptism" or "believe AND repent AND baptism".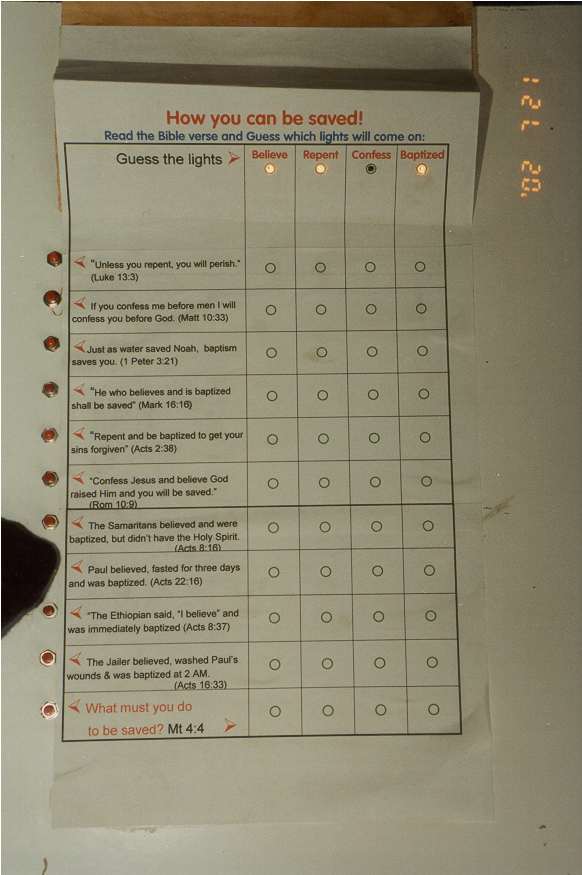
The last question lights up all four. So some buttons light up one light, two lights, three lights or four lights, depending on the Bible verse. Buy 20 1 watt diodes and put one in series of every conductor that runs from the button and the lights. For example, if a button turns on two lights, the circuit starts at the battery, goes to the button, then two separate wires to each separate light, then back to the battery. But two diodes on each conductor between the button and the light. Diodes are about $1 each. If you put the diode in backwards, it won't light at all. Just reverse the polarity on the diode. If you don't use diodes, all lights will light up every button you push.
Standard folding legs:
Each button board can be mounted on standard collapsible table legs for easy set up and transportation.
Rain cover:
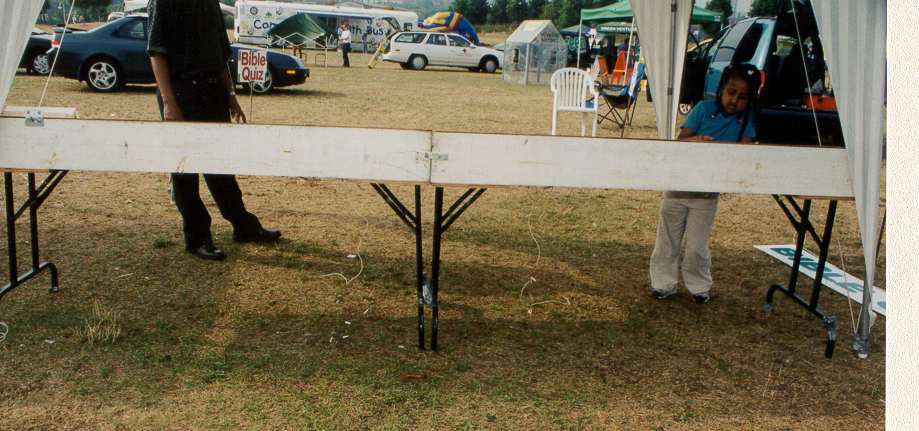
In case of rain, buy a heavy gauge clear plastic cover so people can play the quiz in the rain through the plastic.
The Skirt:
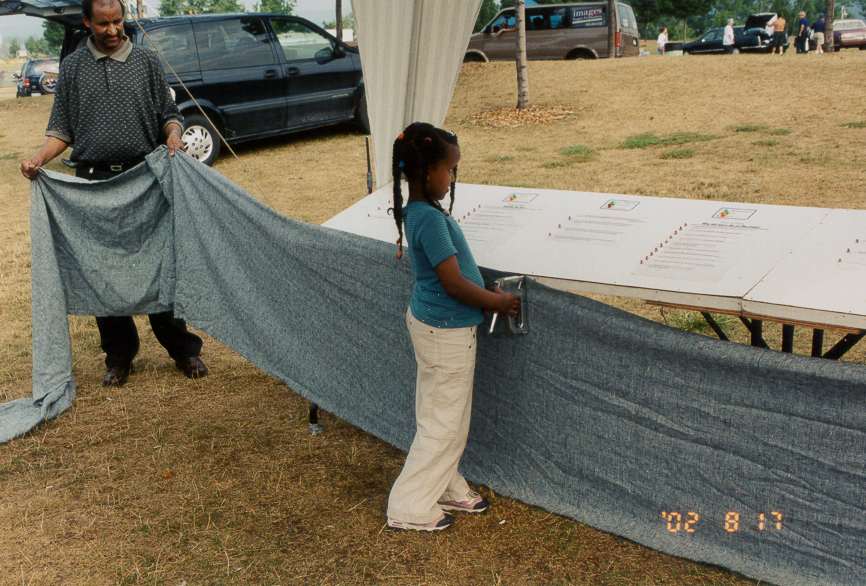
Buy a 40 foot x 5 foot chunk of good quality non-cotton cloth. Fold it in half and staple the folded edge up against the top of the white board. To remove, just grab the cloth and yank!
Night time
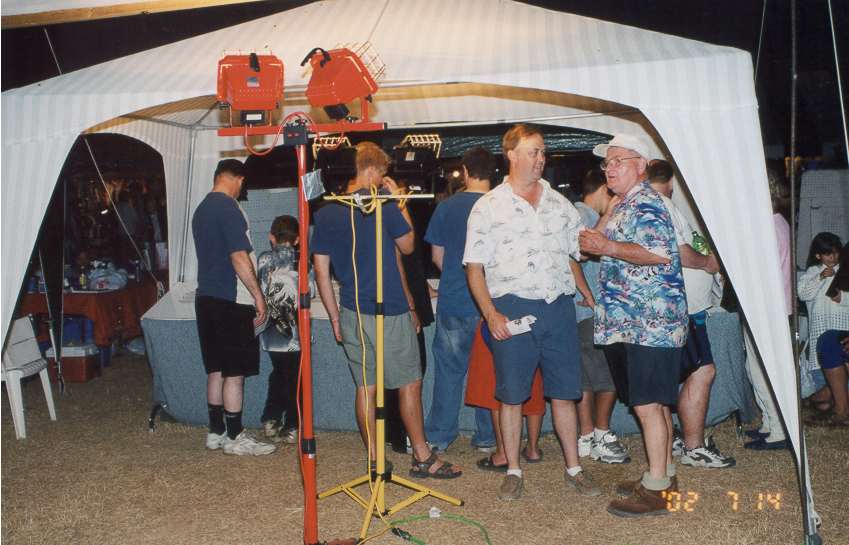
:Use either 2 white liquid gas lanterns at the top inside peak of the tent or two twin halogen lights on contractor tripods (500 watt bulbs in each light.) Point one at the sign and the other at the roof inside the tent.
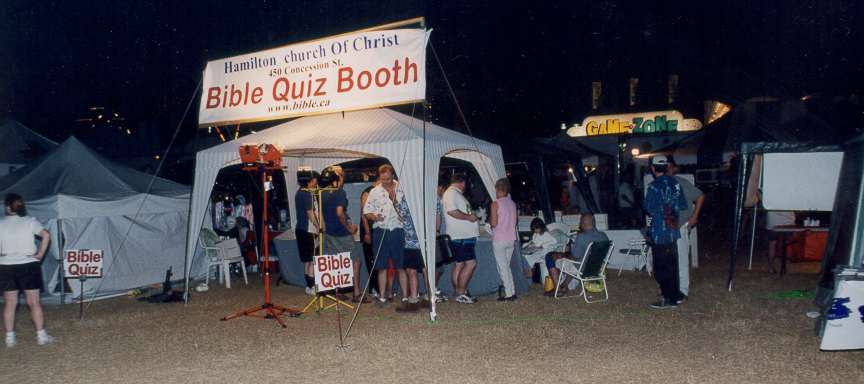
Home Depot sells these. Make sure you buy the tallest and largest one they sell. (7 feet hight)
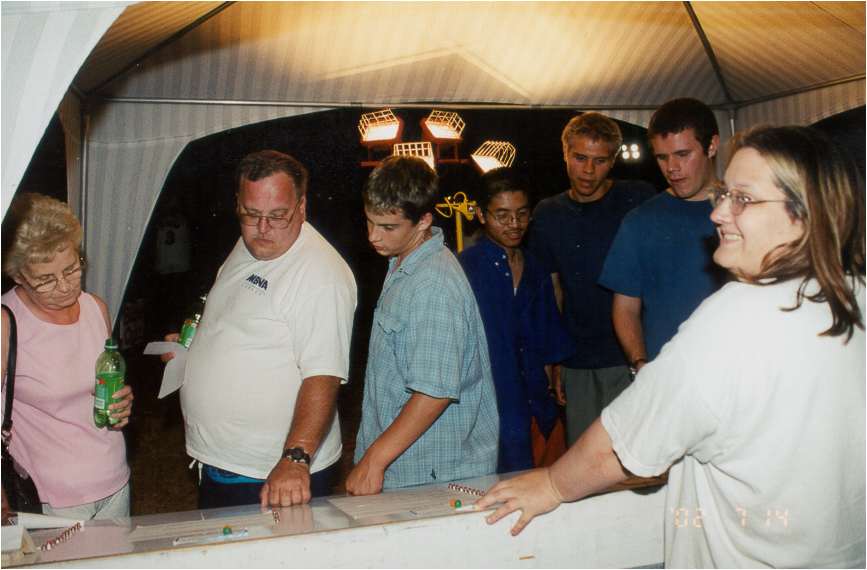
Below is one of our lady members at night standing behind the button board. You can see there is lots of light.
Flyers to hand out
:We hand out one flyer that is 8.5 x 5.5 double sided. One side invites them to church and the other side is a Bible study offer where we can fill in their name, address and phone number.
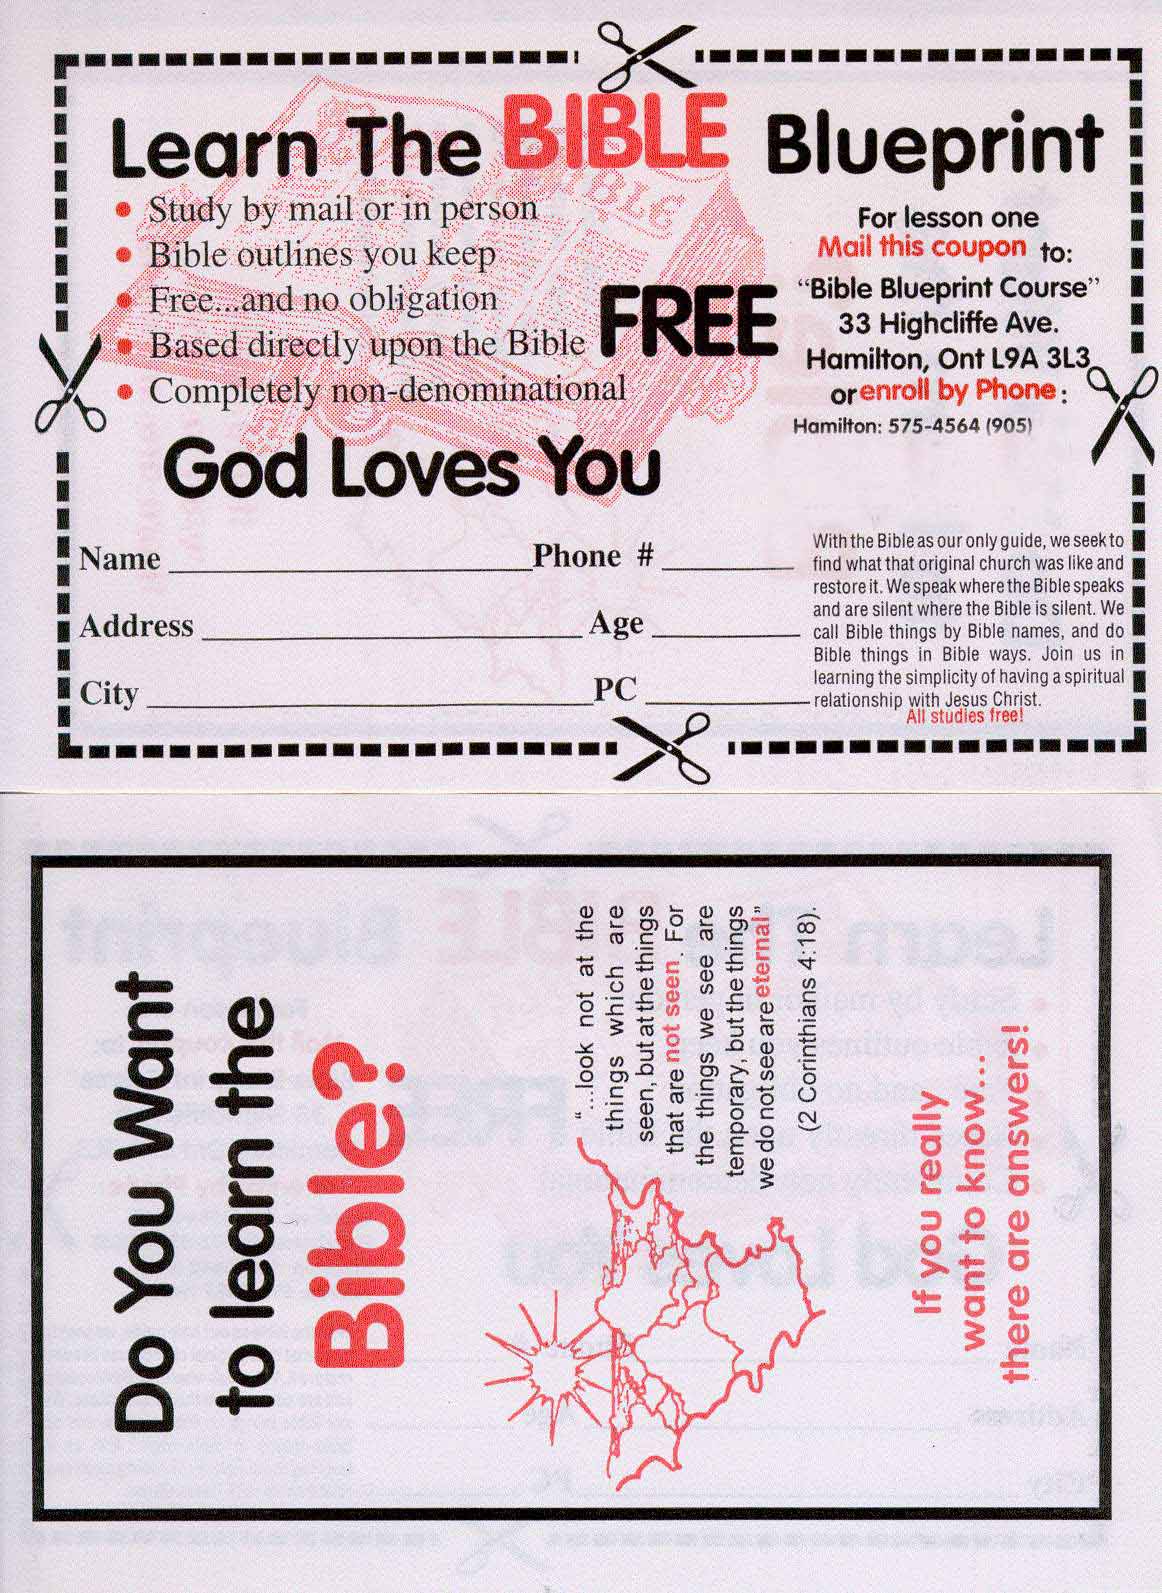
We also hand out a second paper like this: It is the 5.5x8.5 in size and you could actually combine this with the coupon above that requests their name and phone number to create a great double sided coupon. But we hand out two separate papers.
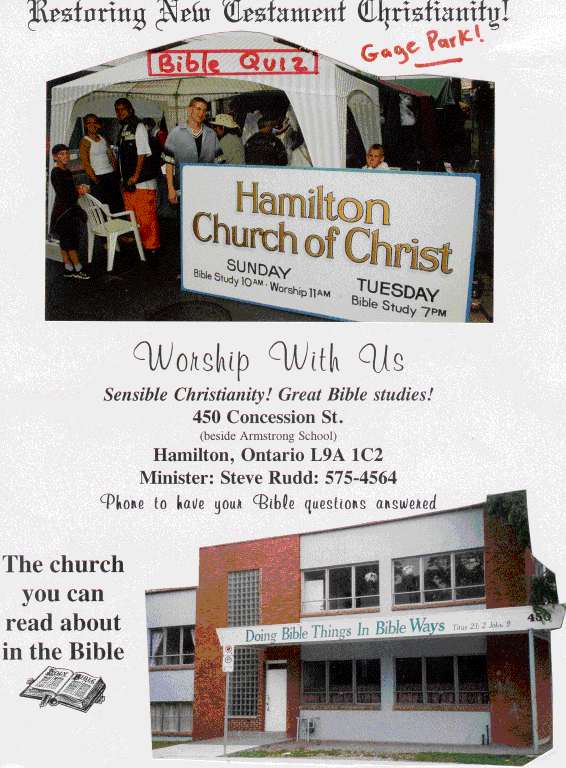
Running the booth
:As people come into the booth we say, "would you like to take the Bible quiz?" If they say yes, we hand them a flyer as we say, "The first question is at this end." We explain that it is a question with three possible answers and that when they press the buttons it will tell them if it is right or wrong from the lights that turn on. I usually do a question with them, then back off. A while later I will come back and ask two questions: "Do you attend church every week?" and "Which church". I want to know if they are committed and their religious affiliation. As they finish, we ask them if they are interested in Bible study. We then hand them a second flyer (same as what they have in their hands) on a clip board and ask them to fill in their personal information. I take this flyer and after they leave write down any additional information I know about them, like where they attend etc.
A willing congregation
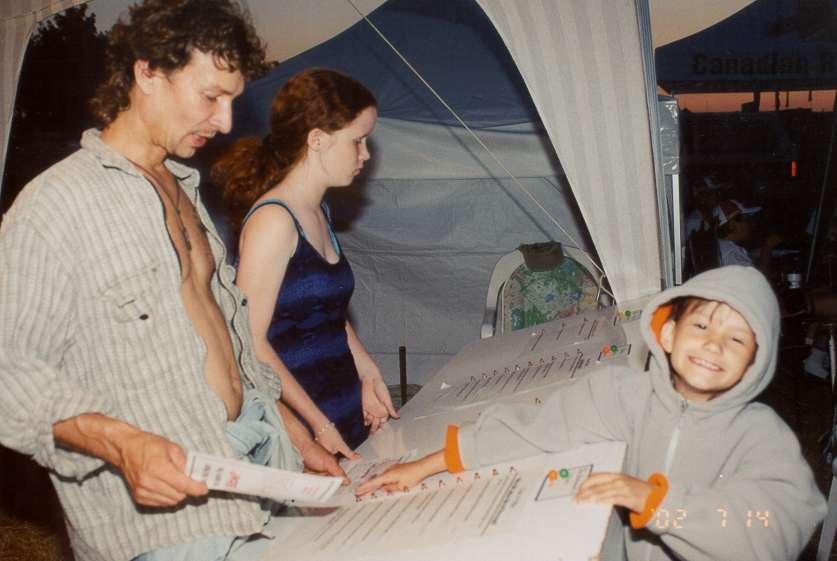
:Obviously this booth is to a preacher, what candy is to a baby. It is a riot. However, the preacher must not hog all the fun for himself. Invite anyone in the whole church to help. Men, Women, teens, kids.
Women help:
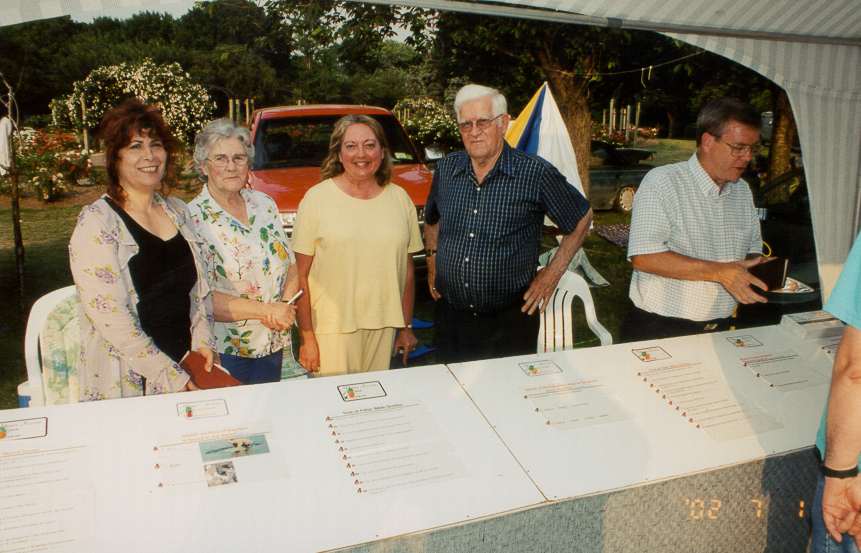
We often find that without women at the booth, our jobs would be hindered because of the large number of women who take the quiz. Pictured bottom right is gospel preacher Mark Copeland, who helped one week!
Teens help:
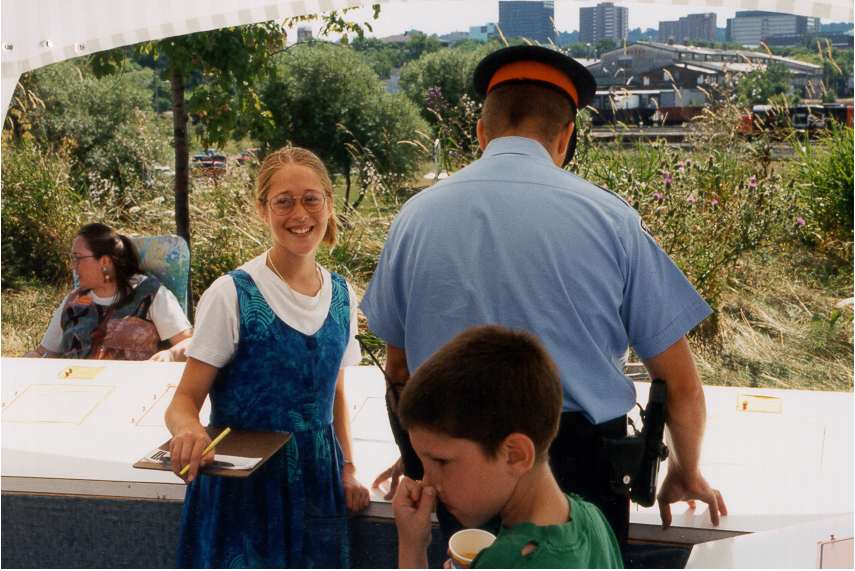
Notice this teen has a clip board, flyer and pen in hand. She will ask the police officer if he is interested in Bible study. If he says yes, she will hand him the clip board and ask him to fill out a coupon with his name address and phone number. She keeps it and hands him a second one to keep.
Children help:
All of the children in the congregation help "man" the booth. If they cannot read, they can hand out flyers. This child is a good reader and is actually reading the questions for the adult who cannot read! She asks him, "Is this true or false"? After he gives his answer, she would push the button for him and he would see from which light turned on, if he was right or wrong.
Written and Designed by Steve Rudd 1990-2003